15 Sewing Room Organization Ideas Every Crafter Needs
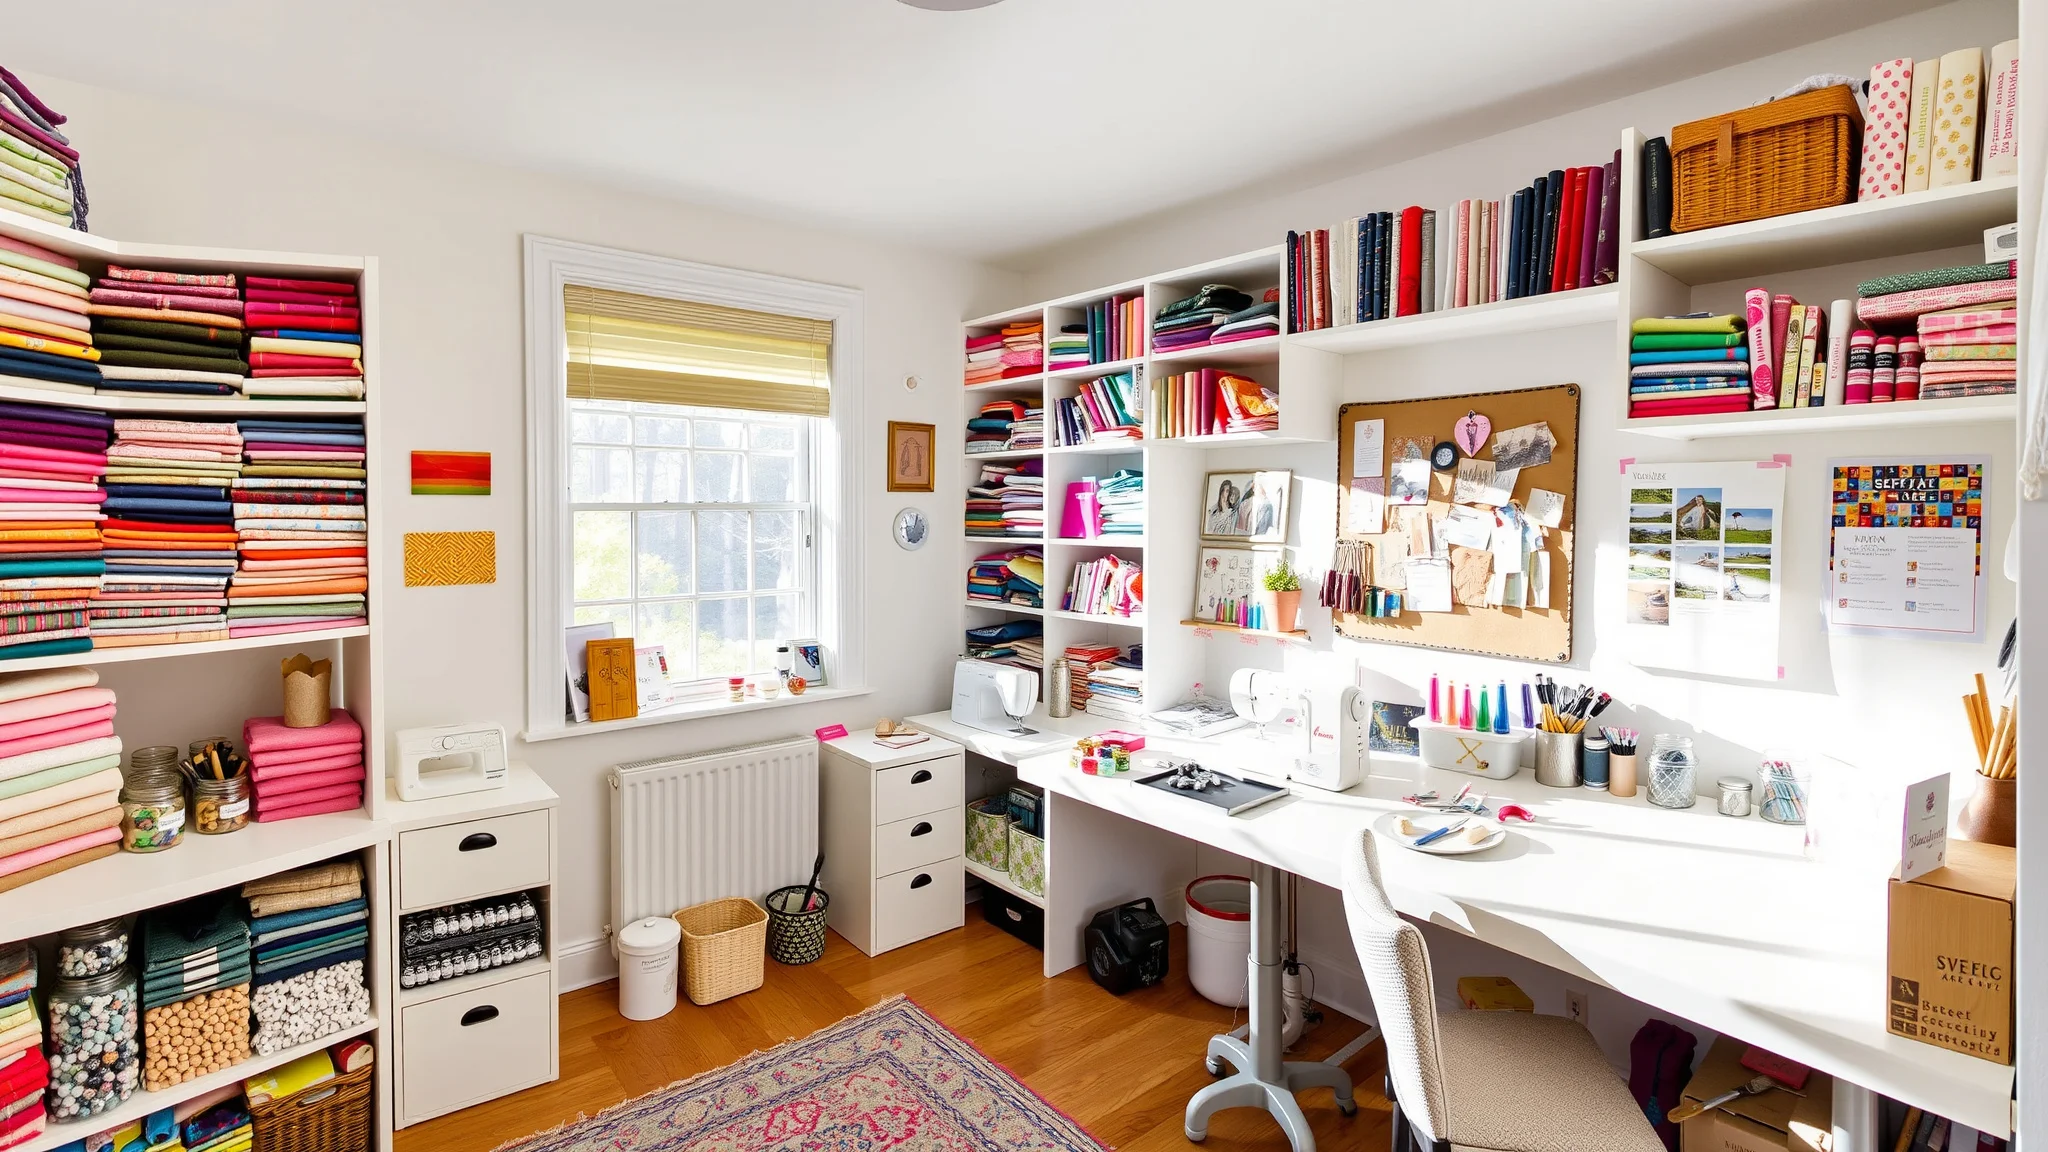
Creating a sewing room that feels organized and inspiring can make all the difference in your crafting experience. With the right organization ideas, you can maximize your space and make sewing more enjoyable. Here are 15 practical and creative sewing room organization ideas that every crafter needs to consider.
1. Use Clear Storage Bins
Clear storage bins are a fantastic way to keep your fabric, threads, and supplies visible and tidy. They fit neatly on shelves or under tables, making it easy to see what you have on hand. Imagine walking into your sewing room and immediately spotting that perfect fabric for your next project. When everything is organized in clear bins, it feels less overwhelming. You’ll find yourself diving into projects more often as you can easily grab what you need. Plus, guests often comment on how neat and accessible everything looks, which can be quite satisfying. Consider labeling each bin for even easier access.
- Choose bins in various sizes for different supplies.
- Opt for bins with lids to keep dust off your materials.
- Sort by color or type for a visually pleasing arrangement.
💡 Quick Tip: Use colored tape for easy labeling and color-coding of your supplies.

2. Create a Cutting Station
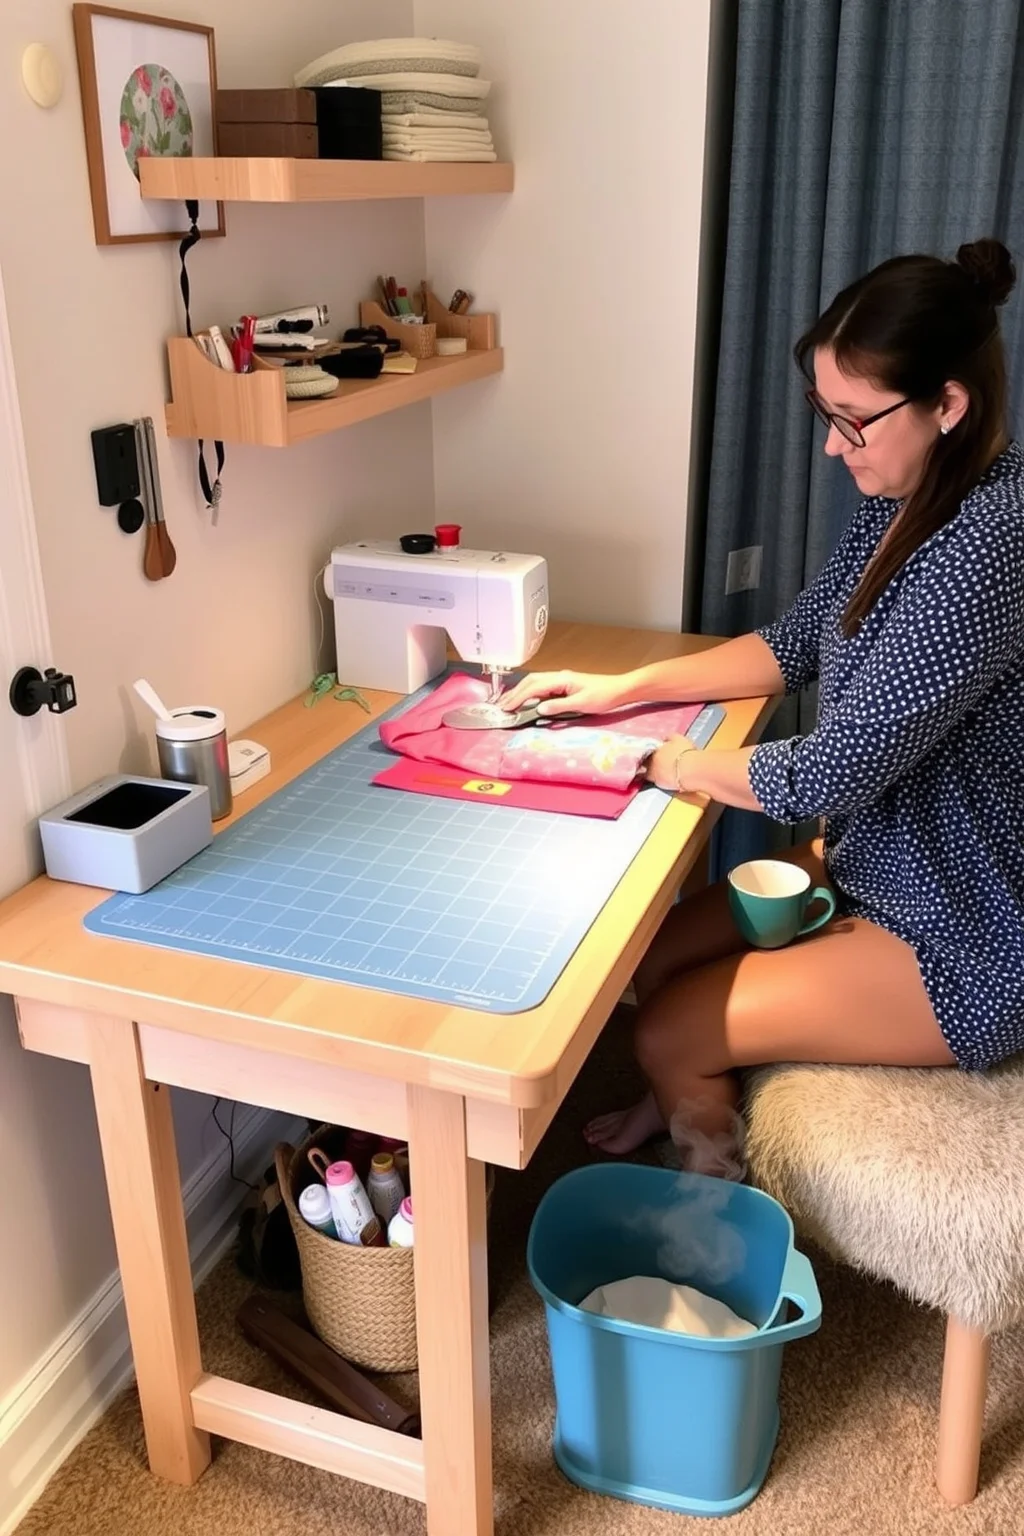
A dedicated cutting station can streamline your sewing process. Setting up a table at the right height with a self-healing cutting mat allows you to easily cut fabric without damaging the surface underneath. Picture yourself comfortably cutting patterns while enjoying a cup of tea, knowing everything is within arm’s reach. Having a designated space for cutting means you won’t have to clear off your workspace every time you need to cut fabric. It allows for more efficient use of your time and keeps your sewing area clutter-free. Plus, you’ll notice how much smoother your sewing sessions go when you can cut and sew in one organized spot.
- Keep your rotary cutter and rulers nearby for convenience.
- Add a trash bin to keep fabric scraps from piling up.
- Consider a foldable table for flexibility in your space.
💡 Quick Tip: Use a small caddy to hold your cutting tools for easy access.
3. Hang a Design Wall
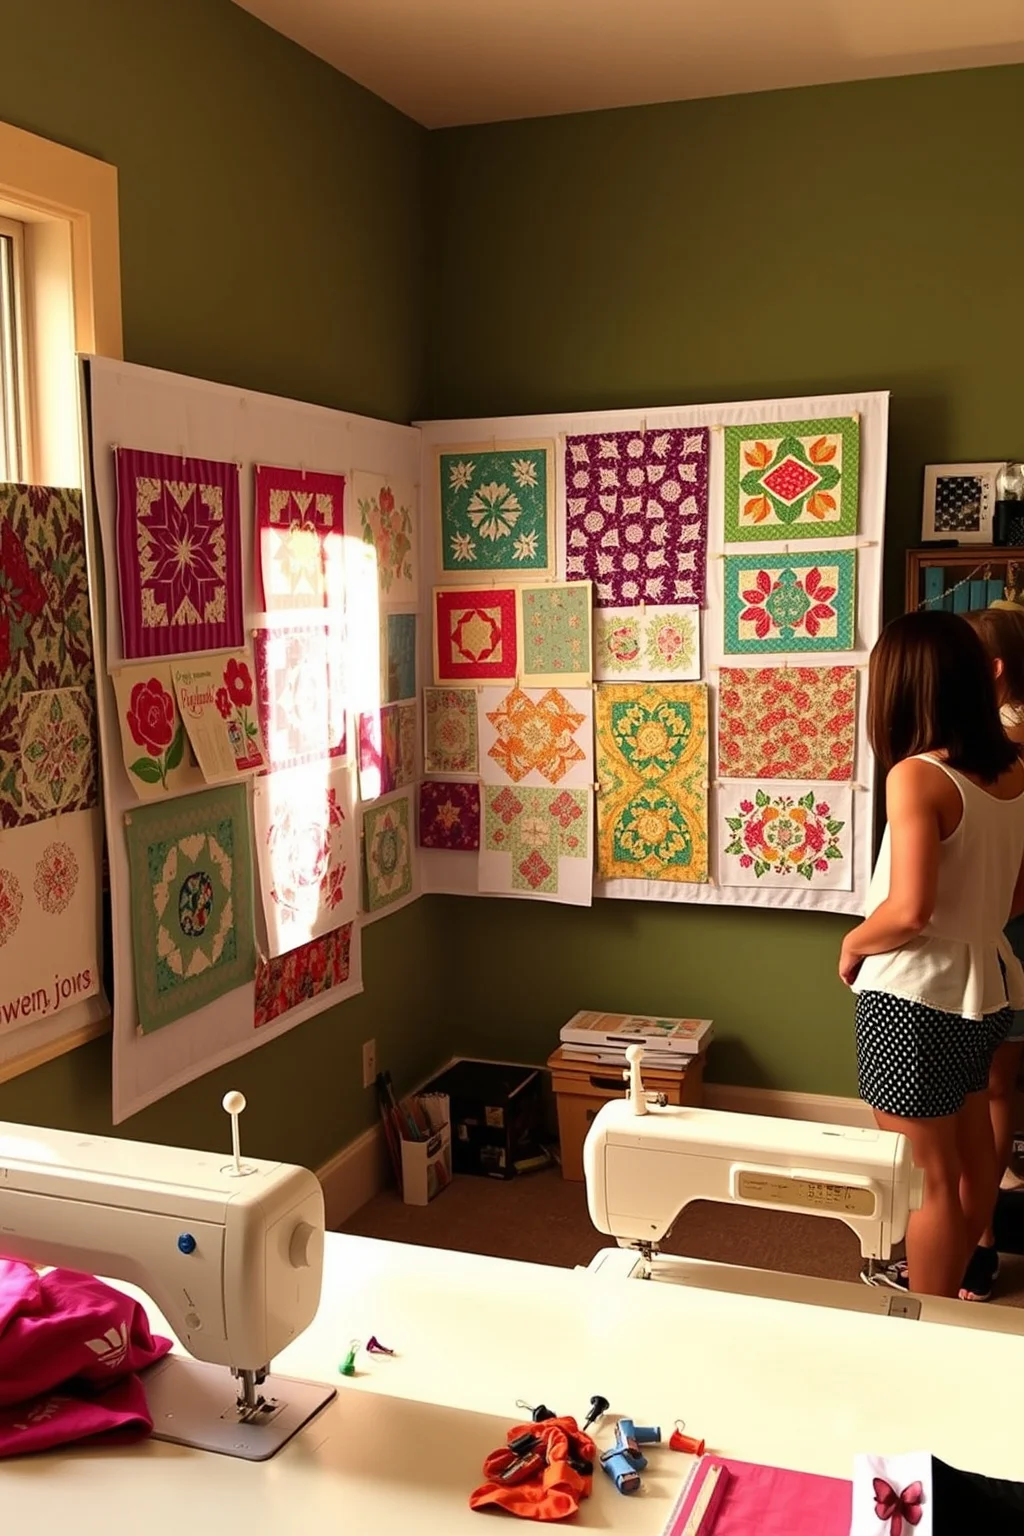
A design wall can be a game-changer for quilters and sewists alike. Simply hang a large piece of flannel or batting on the wall to easily pin up your fabric pieces and see how they look together. Imagine stepping back to admire your work, making adjustments without the hassle of moving pieces around on a table. This setup encourages creativity and allows you to visualize your projects better. It’s lovely to have a space where you can see your ideas come to life. When friends visit, they often enjoy looking at your design wall, providing feedback and inspiration for your next creations.
- Choose a wall that gets plenty of natural light.
- Use push pins or fabric-safe clips for easy repositioning.
- Consider a portable design board if space is limited.
💡 Quick Tip: Use contrasting fabric colors to make your designs pop on the wall.
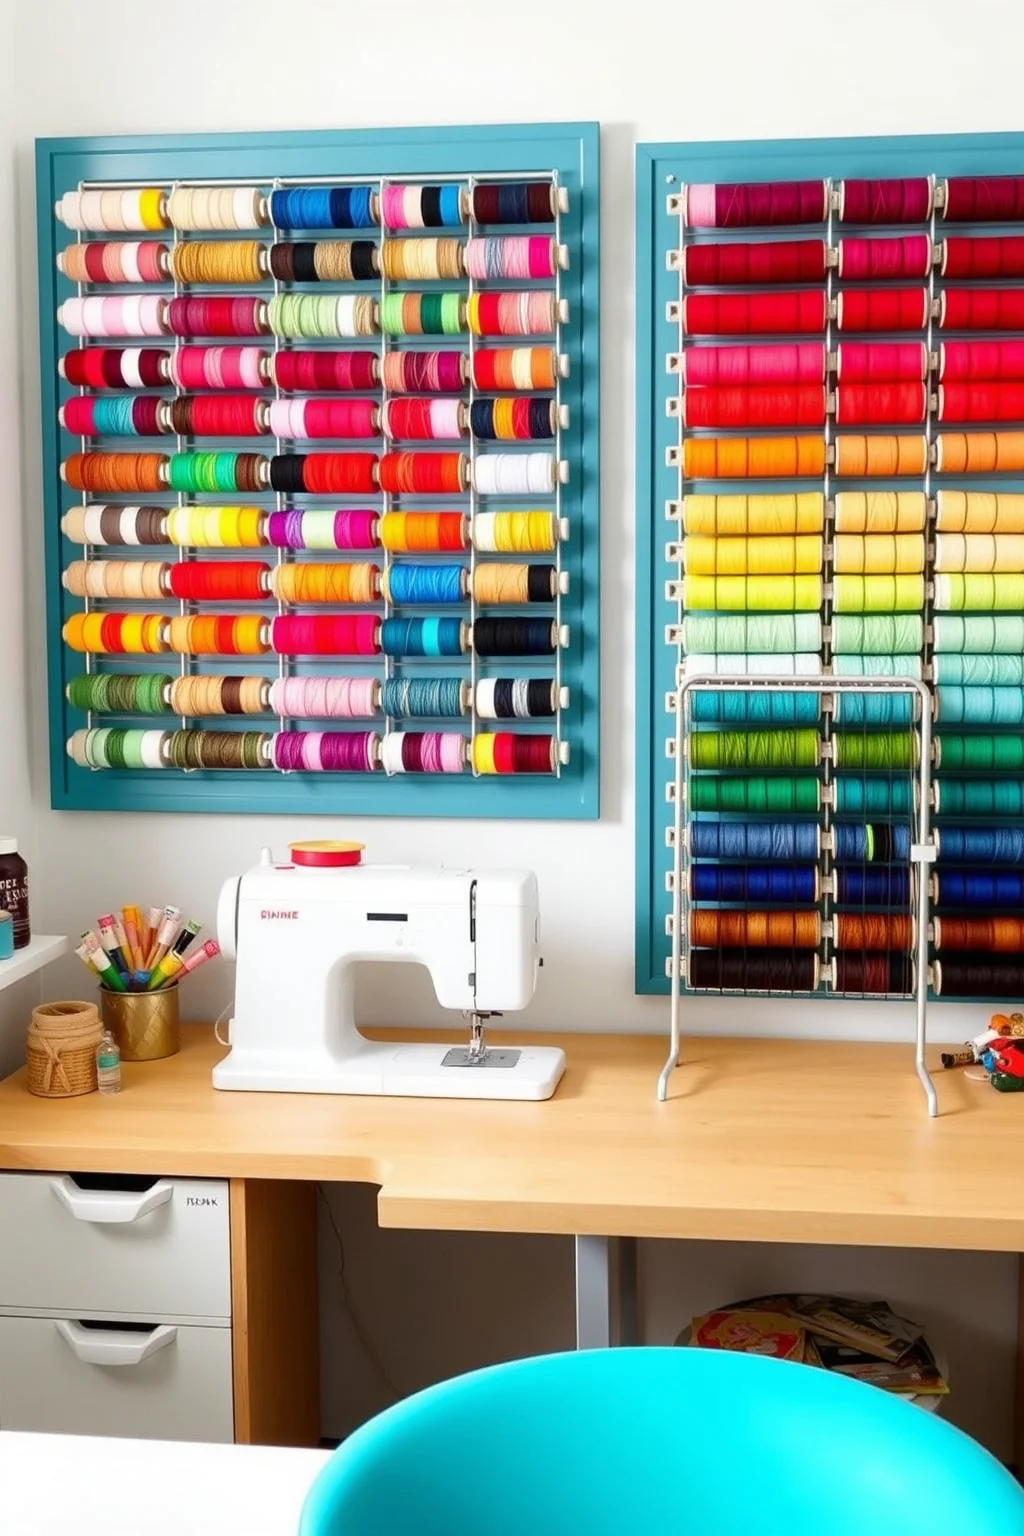
4. Set Up a Thread Organizer
Organizing your threads can make a significant difference in your sewing room. A thread organizer, whether it’s a wall-mounted rack or a drawer insert, keeps your threads visible and untangled. Imagine reaching for the exact color you need without rummaging through a messy drawer. This not only saves time but also adds a splash of color to your sewing area. You’ll find that your creativity flows more freely when you can see all your options at a glance. Plus, visitors often admire your organized threads, making it a great conversation starter as they explore your space.
- Sort threads by color for a cheerful display.
- Consider using spice racks for a unique storage solution.
- Keep a few empty spots for future thread purchases.
💡 Quick Tip: Use old spice jars to organize small spools of thread.
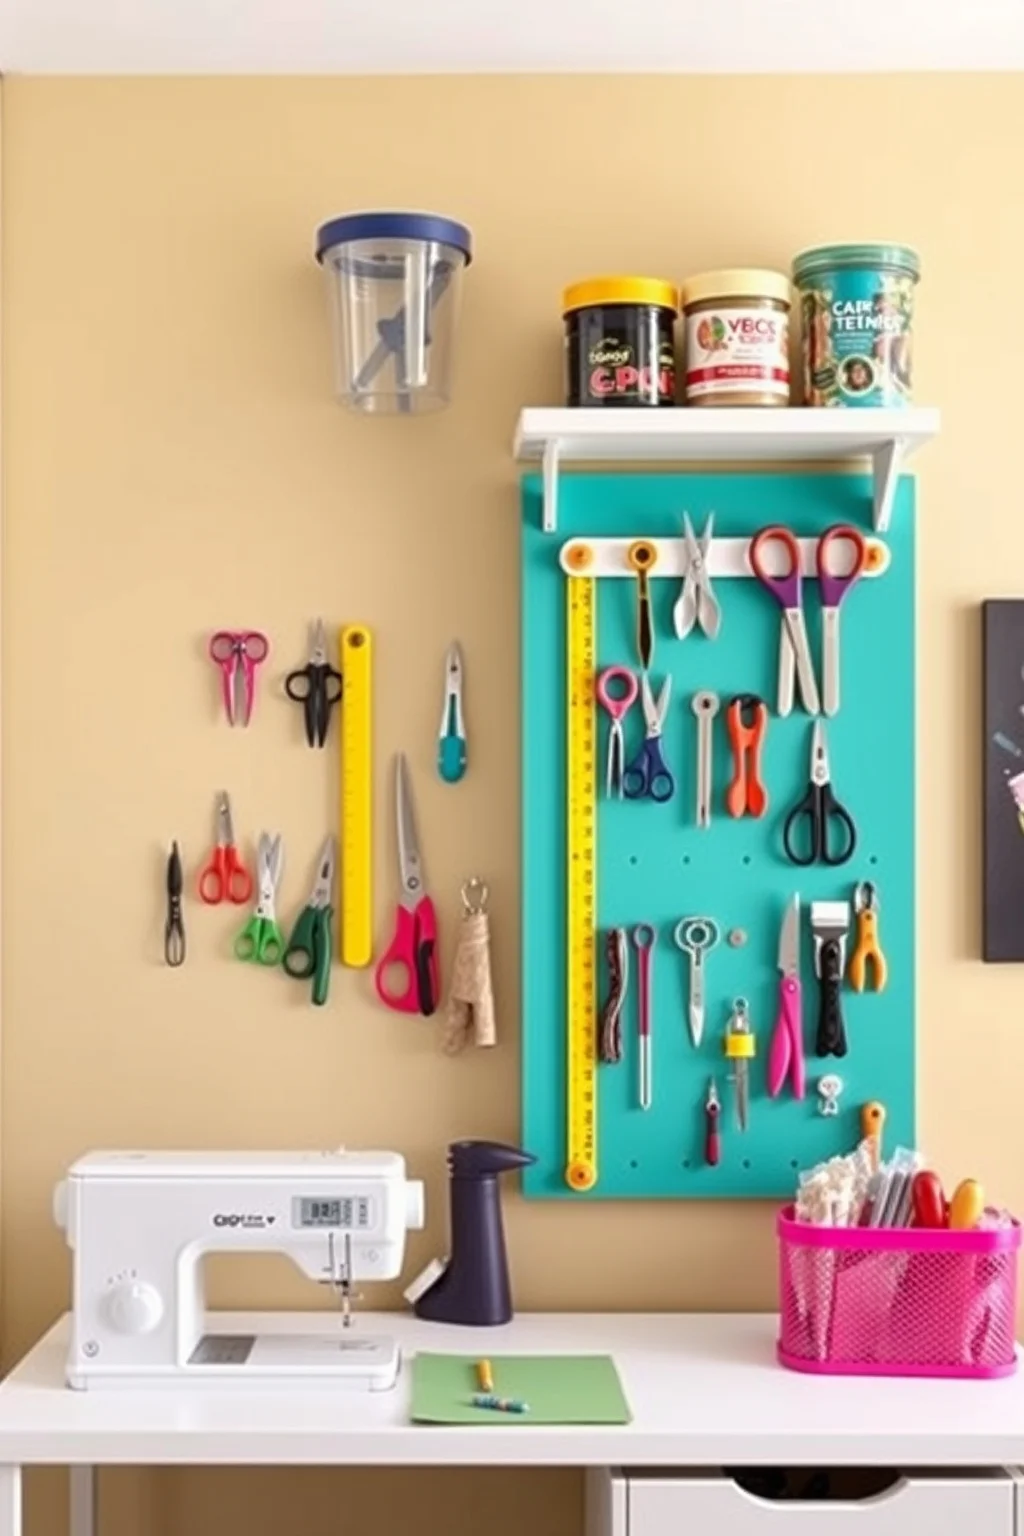
5. Utilize Pegboards
Pegboards are versatile and can be a stylish way to organize your sewing tools. Install one on the wall and hang scissors, rulers, and other tools for easy access. Think about how nice it would be to have everything displayed neatly, ready for use, while adding a decorative touch to your room. With a pegboard, you can customize how you arrange your tools based on your workflow. You’ll notice that grabbing what you need becomes second nature, which can make your sewing sessions feel more enjoyable and less chaotic. Plus, it’s easy to change things up as your collection grows.
- Choose colorful hooks to brighten up your pegboard.
- Group similar tools together for easy finding.
- Consider adding small shelves for additional storage.
💡 Quick Tip: Paint your pegboard a fun color to match your décor!
6. Create a Scrap Fabric Storage
Don’t let your fabric scraps go to waste! Use a dedicated bin or drawer to store them, sorted by color or type. Picture yourself diving into that scrap pile to find the perfect piece for a small project or an embellishment, feeling proud of not letting any fabric go unused. Having a well-organized scrap fabric station encourages creativity, sparking ideas for new projects. You might find unexpected treasures in those scraps, leading to delightful surprises when you’re sewing. It’s amazing how guests often comment on how creative your use of scraps can be!
- Use small bins for specific color categories.
- Consider a clear jar for tiny bits of fabric.
- Regularly purge old scraps to keep your collection manageable.
💡 Quick Tip: Use a large basket for a cozy, decorative scrap storage solution.

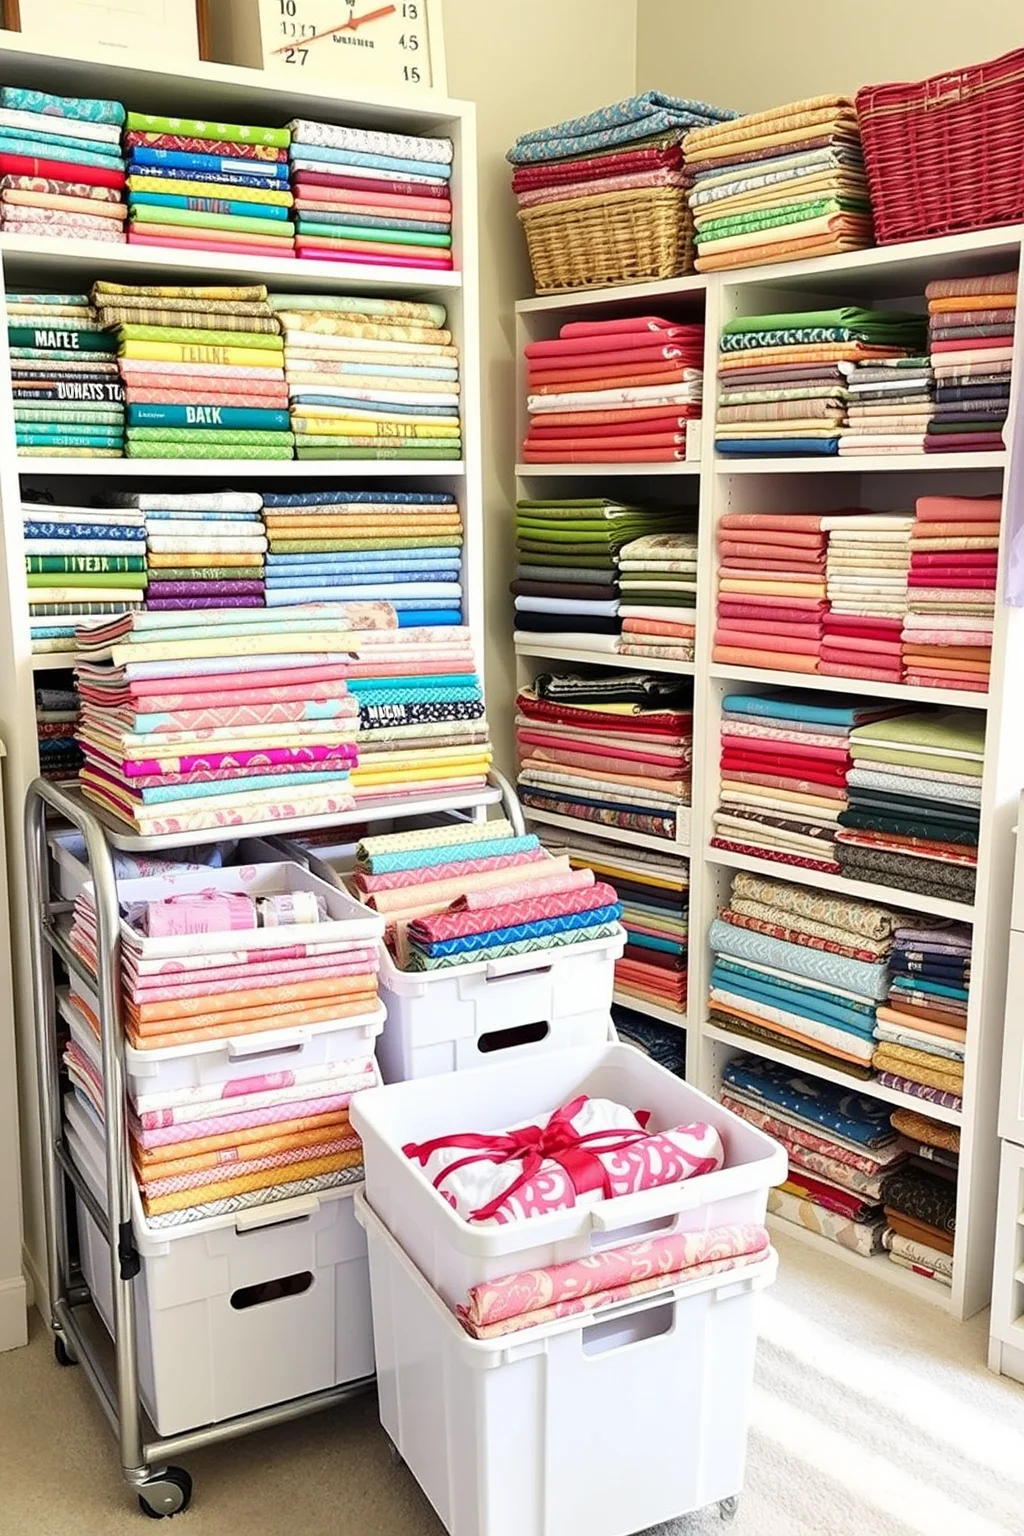
7. Install a Fabric Stash System
Storing your fabric in a way that showcases it can motivate you to sew more. Consider using shelves, baskets, or even a rolling cart to display your fabric stash. Imagine how nice it would be to have your favorite fabrics easily visible, ready to inspire your next project. A well-organized fabric stash not only looks beautiful but also allows you to quickly find what you need. You’ll find that when everything is neatly displayed, you’re more likely to experiment with different fabrics. Friends often admire your collection, and it can spark delightful conversations about future projects!
- Group fabrics by color or type for a visually pleasing display.
- Use fabric bins for easy access in a cart.
- Keep seasonal fabrics separate for easy rotation.
💡 Quick Tip: Use fabric bolts to neatly display and store larger pieces.
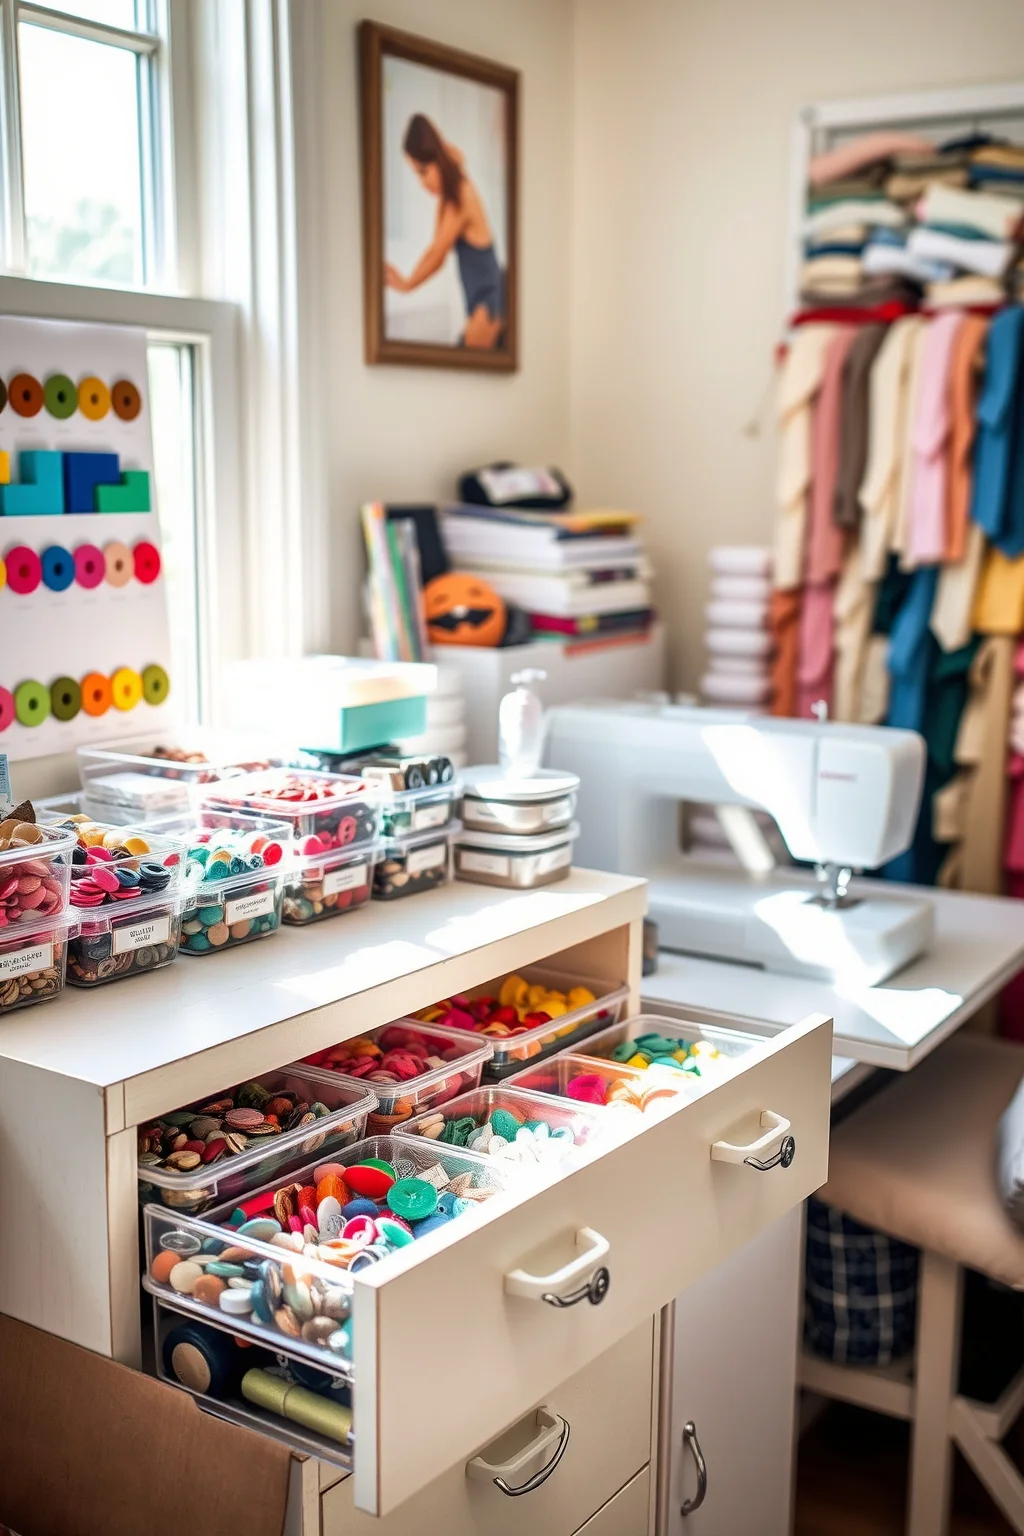
8. Designate a Notions Station
A notions station helps keep all your small supplies in one place, making it easy to find buttons, zippers, and other essentials. Use small bins or drawer organizers to sort these items. Imagine how much easier it is to reach for a button when you know exactly where to find it instead of searching through a cluttered drawer. This organized setup not only saves time but also adds a touch of charm to your sewing room. You’ll notice how your projects come together more smoothly when you can quickly grab notions. When guests see your organized notions, they often compliment your attention to detail, making you feel proud of your space.
- Label each bin or drawer for quick identification.
- Consider using clear containers to see contents easily.
- Group similar items together for streamlined access.
💡 Quick Tip: Use pill organizers for small buttons and fasteners.
9. Keep a Projects in Progress Basket
Having a dedicated basket for projects in progress can keep your workspace tidy. Simply toss your current projects into the basket to avoid clutter on your sewing table. Imagine how nice it feels to have a designated space for unfinished projects, allowing you to focus on what you’re currently working on. This practice not only helps keep your area organized but also reduces stress, knowing everything is in one place. You’ll find that it’s easier to pick up where you left off when you have a clear area to work in. Friends often comment on how inviting your sewing room feels, encouraging them to join in on creative endeavors.
- Choose a basket that fits your room’s style.
- Regularly rotate projects to keep things fresh.
- Keep a small notebook in the basket for notes on each project.
💡 Quick Tip: Use a fabric basket that matches your décor for a cohesive look.
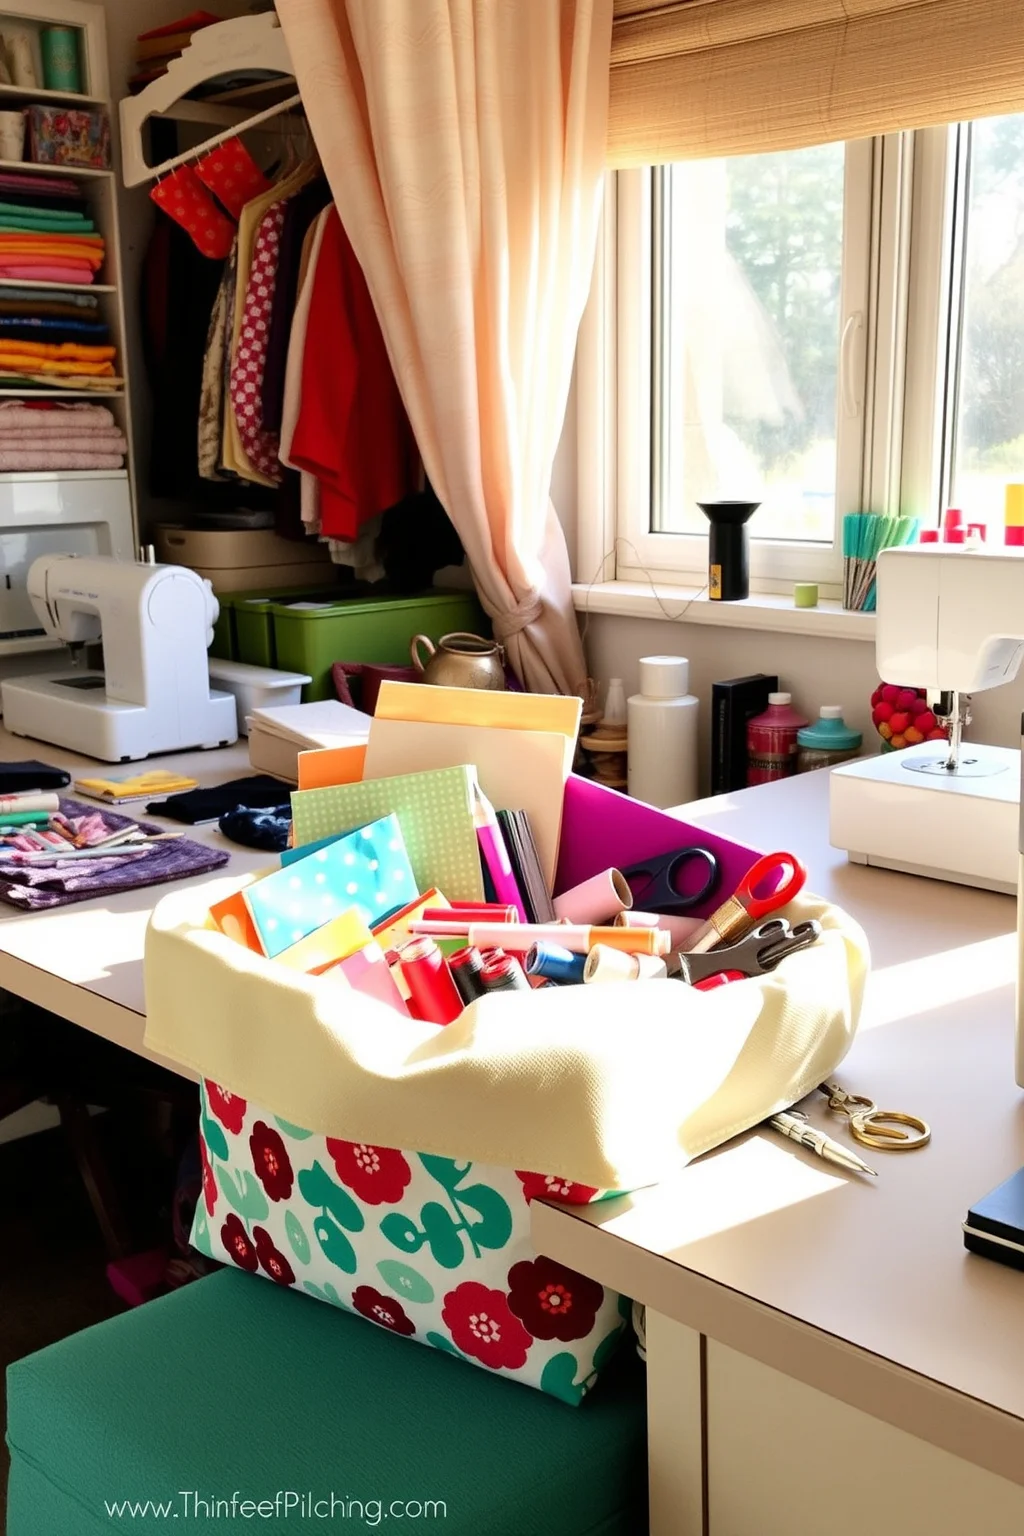
10. Utilize Vertical Space
Making use of vertical space is key in a sewing room, especially if you’re short on square footage. Consider installing shelves or cabinets that go up to the ceiling. Picture how much more storage you’ll gain and how much room you’ll have for your projects and supplies! Maximizing vertical space not only keeps your room organized but also creates a more open feel. It’s amazing how much lighter and breezier a room can feel when everything is neatly stored away. Visitors often find themselves impressed by your clever use of space and organization.
- Install floating shelves for a modern look.
- Use storage boxes on high shelves to keep items out of sight.
- Consider a tall shelving unit for a striking focal point.
💡 Quick Tip: Use decorative boxes to store items on high shelves.
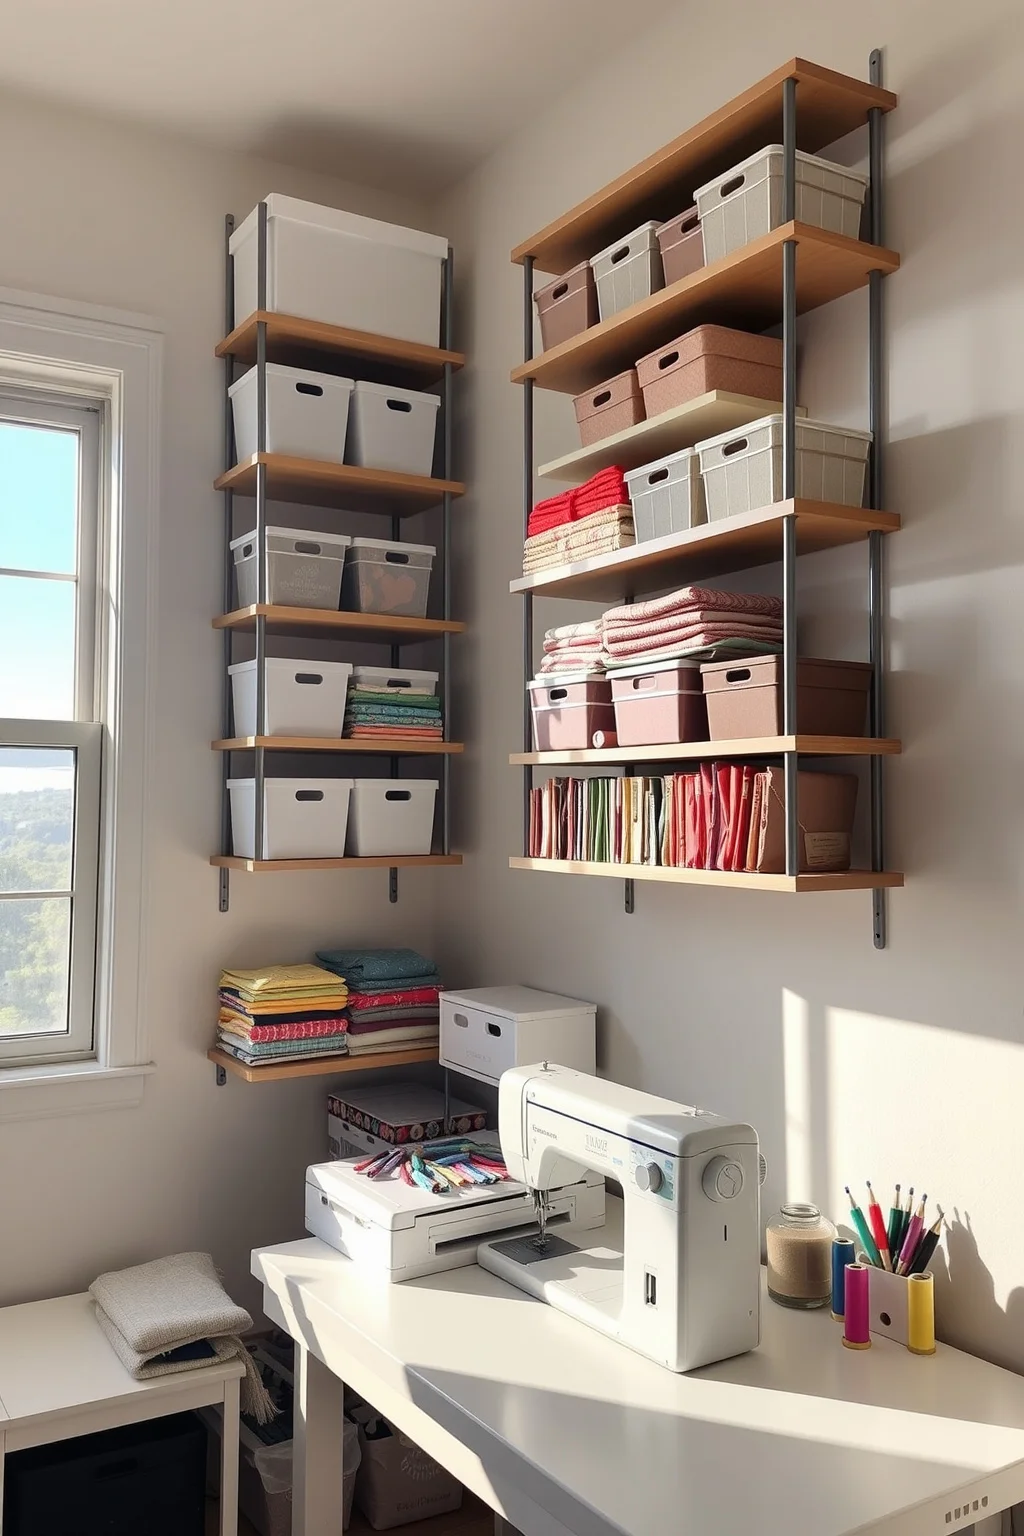
11. Create a Cozy Reading Nook
Incorporating a cozy reading nook into your sewing room can provide a nice break from sewing. Add a comfortable chair and a small side table where you can flip through magazines or books for inspiration. Imagine curling up with a cup of coffee, surrounded by your favorite fabrics and tools, taking a moment to relax. This little retreat can help you recharge and spark creativity. Having a space to step away from your projects allows for fresh ideas to emerge. You’ll find that guests love to sit in your nook, chatting about sewing and sharing ideas, making your sewing room feel even more inviting.
- Choose a chair that complements your décor.
- Add a small bookshelf for easy access to resources.
- Incorporate soft lighting for a warm ambiance.
💡 Quick Tip: Use a small ottoman for extra storage and comfort.
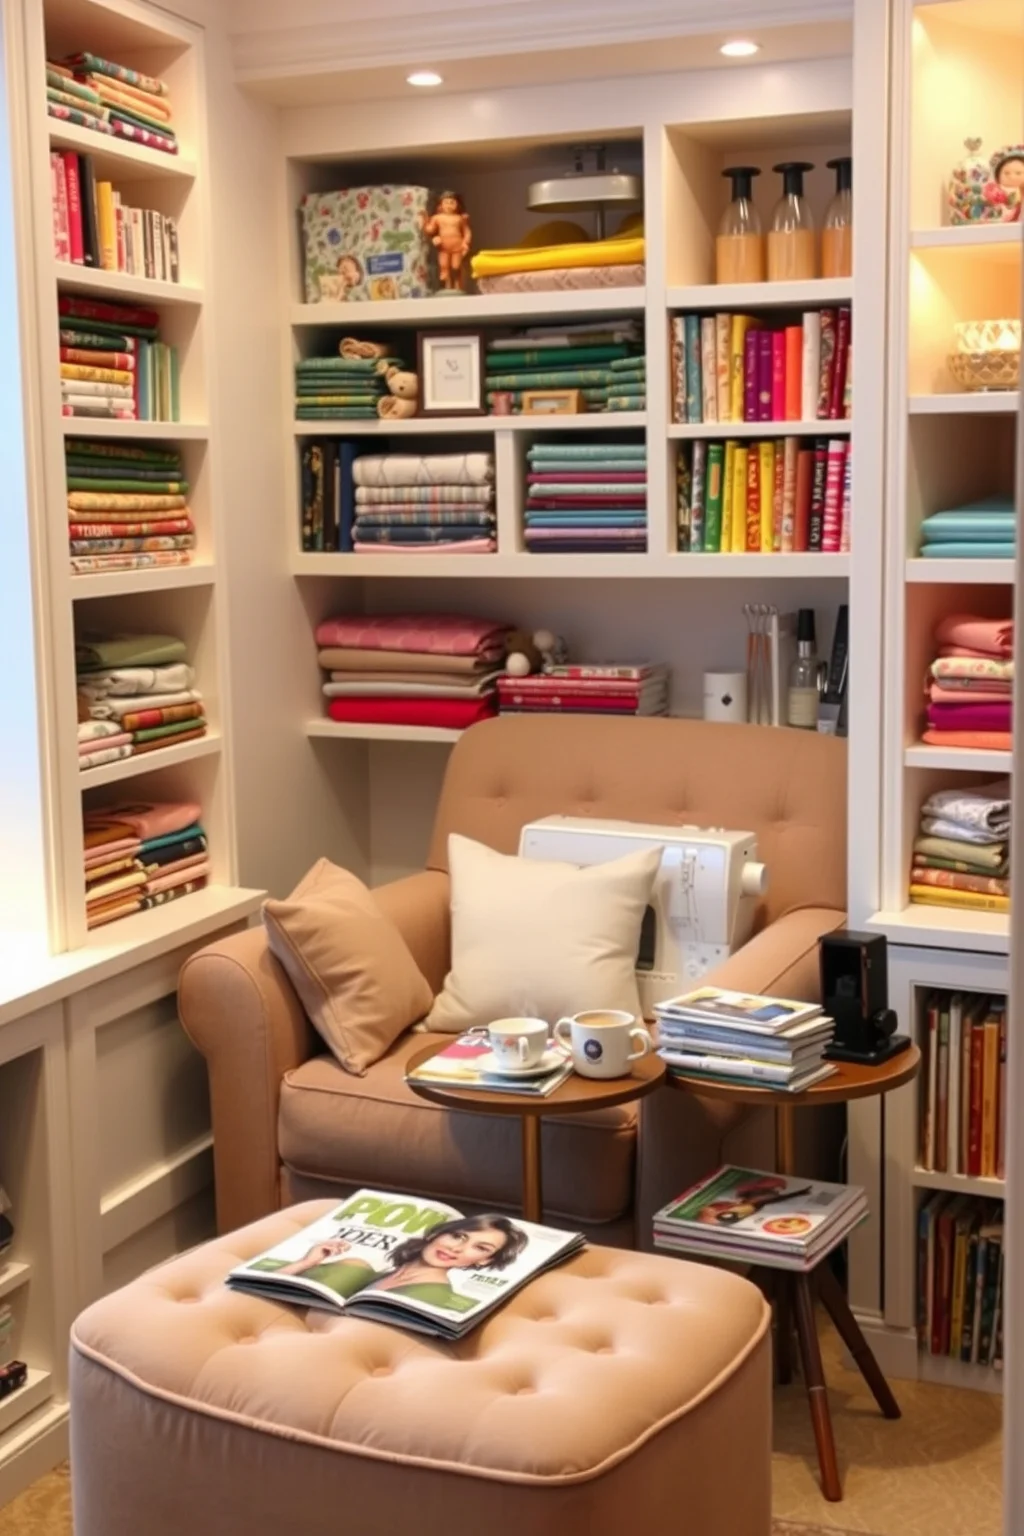
12. Hang a Calendar or Planner
A calendar or planner can be a wonderful tool for organizing your sewing projects and deadlines. Hang it on the wall or keep it on your desk, filled with dates for upcoming projects or events. Picture how nice it is to see your goals laid out visually, helping you stay on track and inspired. This small addition can significantly improve your workflow, allowing you to plan ahead and manage your time effectively. You’ll notice that having your projects organized makes it easier to enjoy the process instead of feeling rushed. When guests see your calendar, they often ask about your upcoming projects, leading to exciting discussions.
- Use colorful markers to highlight important dates.
- Consider a whiteboard calendar for flexibility.
- Include inspirational quotes for motivation.
💡 Quick Tip: Use stickers to mark completed projects on your calendar.

13. Implement a Labeling System
A labeling system can transform your sewing room by making it easy to find what you need. Use labels on bins, drawers, and shelves to clearly identify the contents. Imagine how much easier it is to find that specific fabric when everything is clearly marked, saving you time and frustration. This organization method ensures that everything has a place, which can make your sewing sessions feel more enjoyable and productive. You’ll find that when your space is organized, it invites creativity, making it easier to dive into new projects. Friends often admire your neatness and ask for tips on how to maintain their own spaces.
- Consider using a label maker for a professional look.
- Use fun colors to make labeling more enjoyable.
- Group similar items to simplify the labeling process.
💡 Quick Tip: Use washi tape for a colorful and temporary labeling solution.
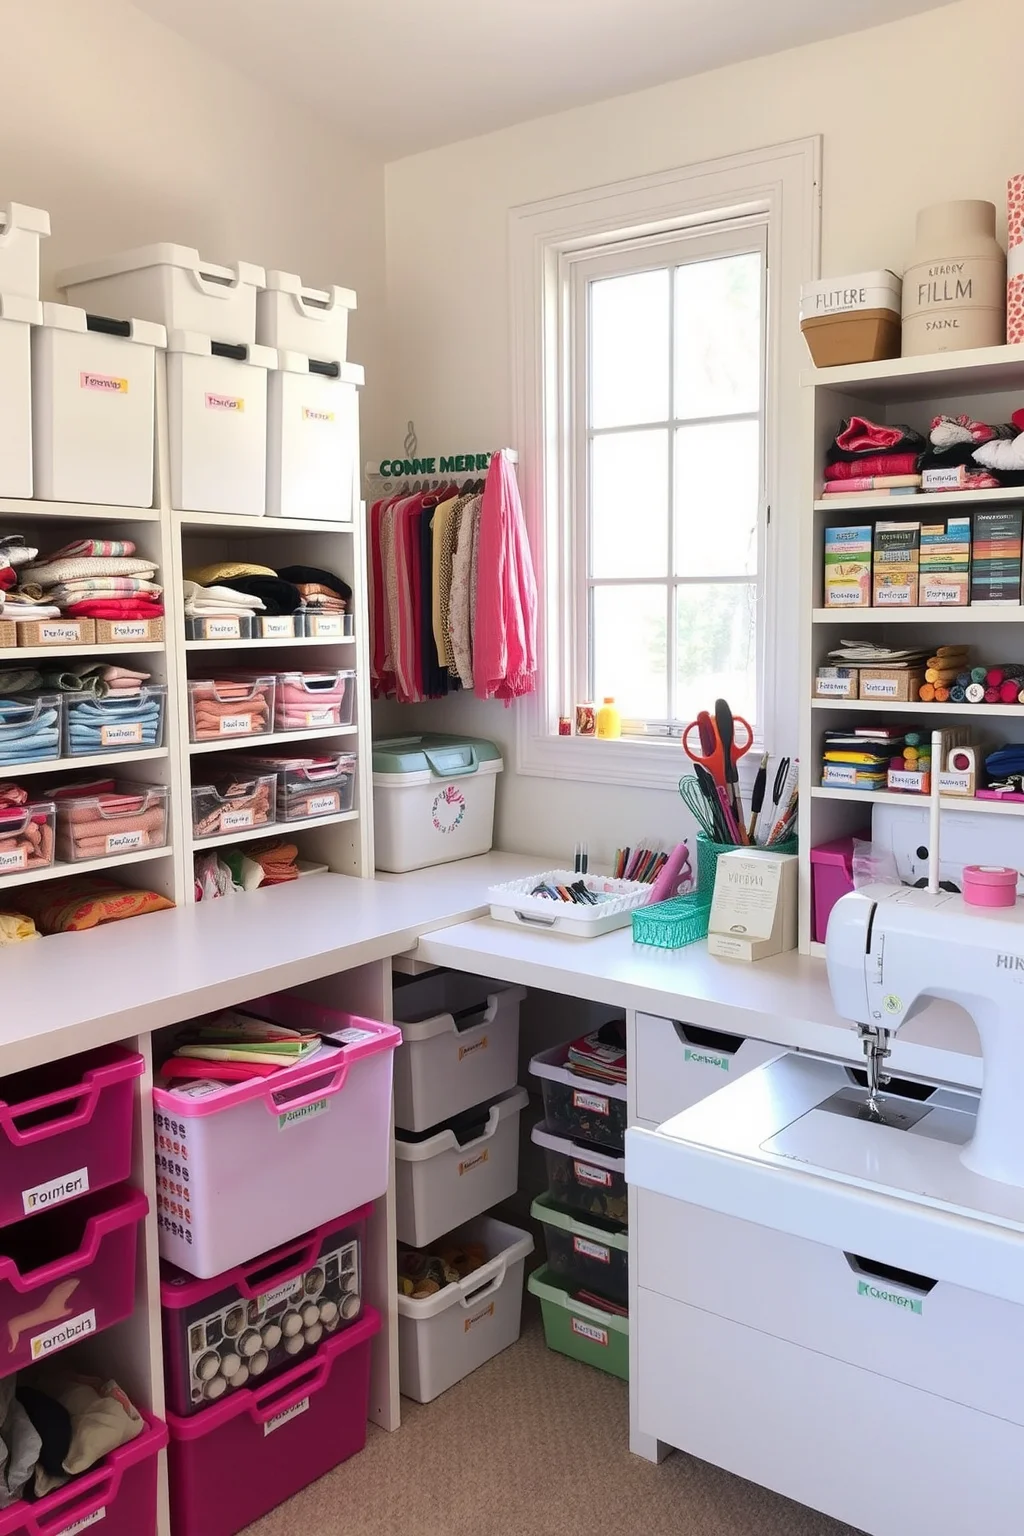
14. Organize Patterns Efficiently
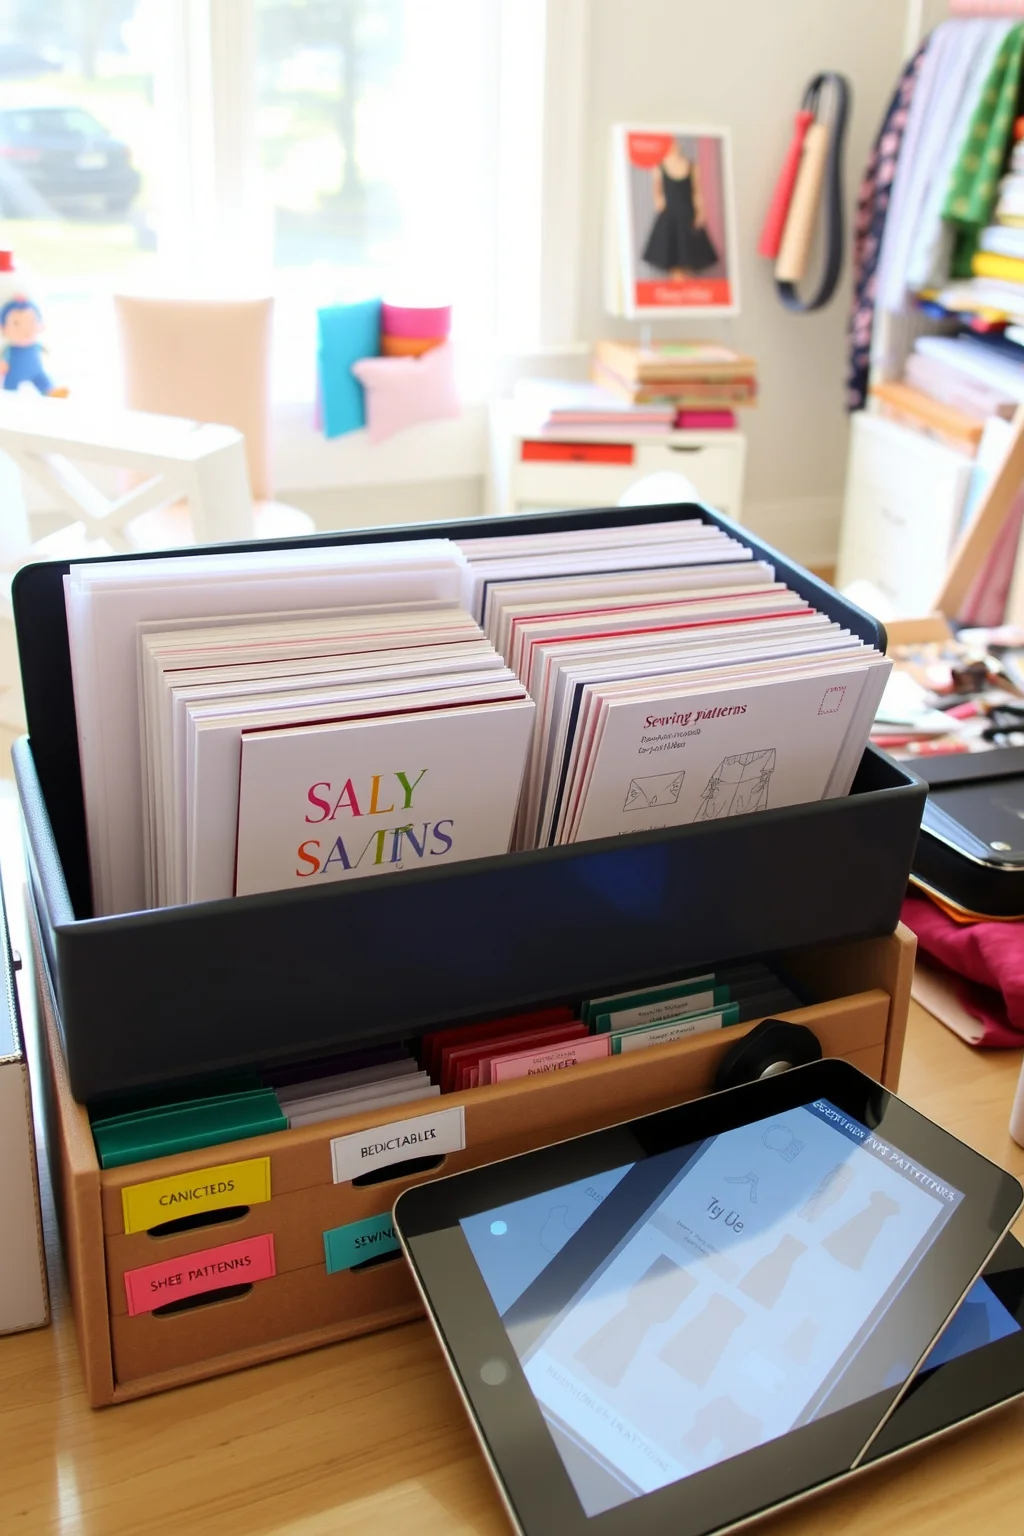
Keeping your sewing patterns well-organized can save you a lot of time and hassle. Use a filing system, binder, or a dedicated box to store your patterns neatly. Imagine reaching for a pattern and finding exactly what you need without flipping through a chaotic pile. This organization method not only prevents damage to your patterns but also allows for easy access. You’ll notice that when everything is neatly stored, you’re more likely to explore new patterns, leading to exciting projects. Guests often compliment your pattern organization, asking how you manage to keep everything so tidy.
- Sort patterns by type or project for easier navigation.
- Use sheet protectors to keep patterns safe and tidy.
- Consider a digital option for easy access to patterns.
💡 Quick Tip: Use a three-ring binder to keep patterns from getting crumpled.
15. Incorporate Personal Touches
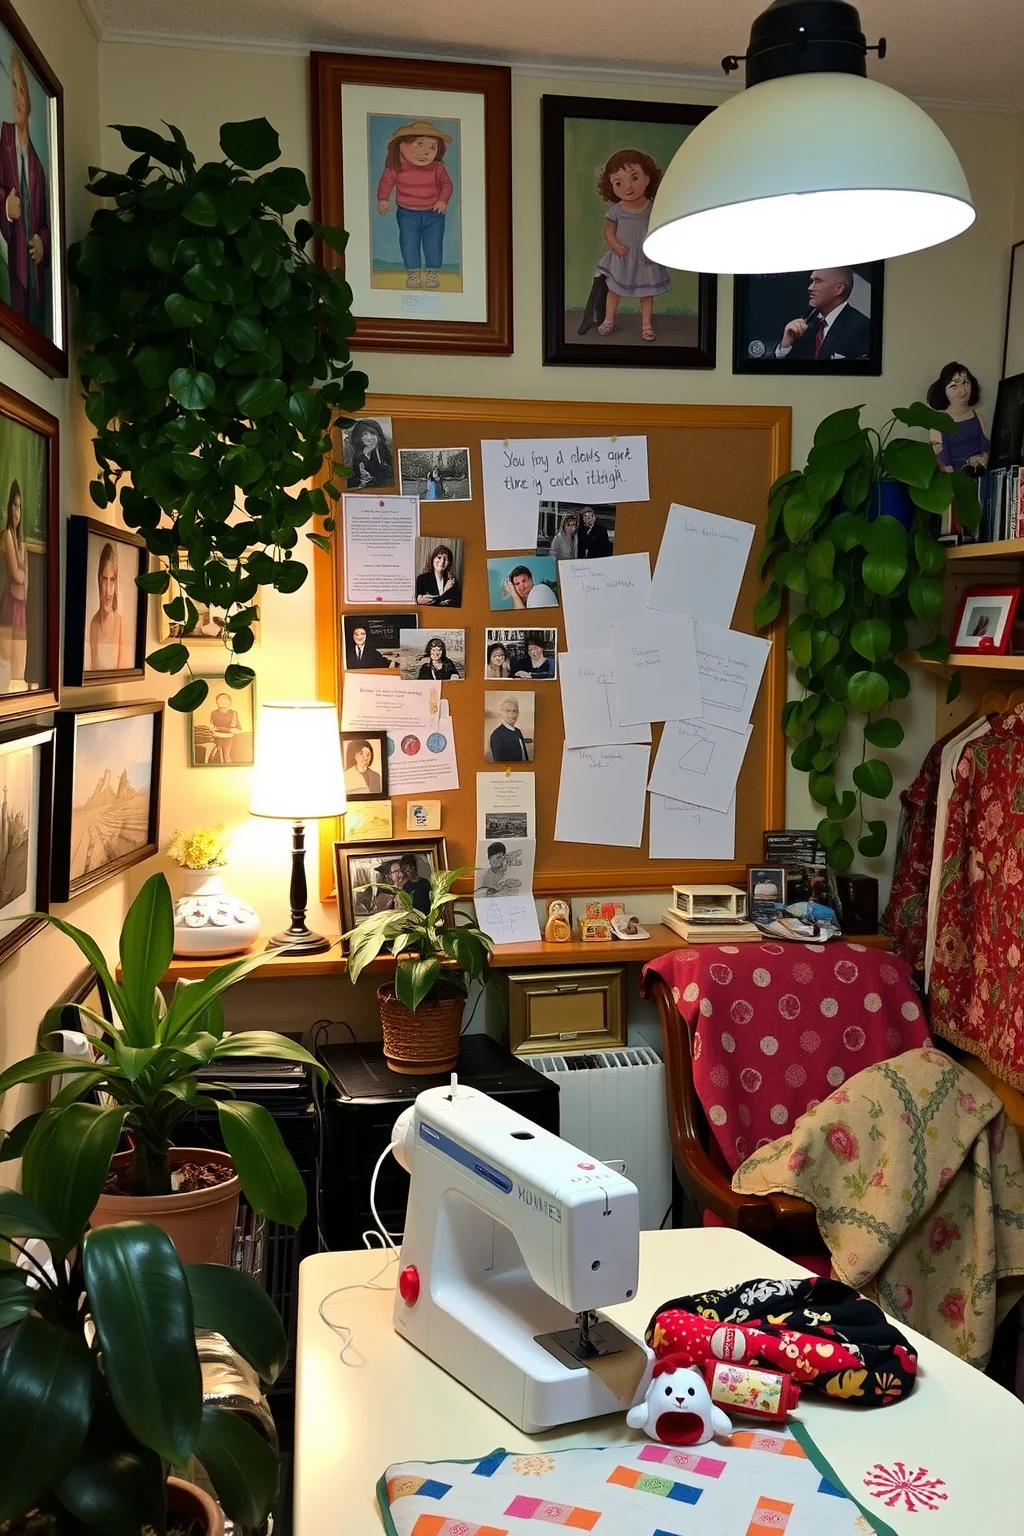
Adding personal touches to your sewing room can make it feel like a true reflection of you. Incorporate photos, artwork, or mementos that inspire you. Picture how inviting it feels to be surrounded by your favorite things while working on projects that you love. This personal flair not only creates a cozy atmosphere but also keeps you motivated. You’ll find that being in a space that feels like home encourages creativity and joy in your sewing journey. Guests often appreciate the unique touches, leading to heartfelt conversations about your crafting journey.
- Choose art that inspires your creativity.
- Incorporate plants for a touch of nature.
- Display finished projects to celebrate your hard work.
💡 Quick Tip: Use a bulletin board to showcase personal inspirations and ideas.
Conclusion
Creating an organized sewing room is all about finding what works best for you and your crafting style. By implementing these ideas, you can make your space both functional and inviting, turning it into a haven for creativity. Reme